Showing posts with label walls. Show all posts

Tuesday, May 14, 2013

Main Living Space is painted

Today, we painted the main living space of the house. Since we've went with a living room/kitchen combo called a great room, we had to choose a more pastel shade of color than I normally would pick. I think the colors look great.
This color is called December Dawn. It's a very muted blue-grey.

This color is called Kangaroo Tan. 

Here is a picture of the transition between the two colors. See how pale of colors they are?

Sunday, May 5, 2013

Paint!

Over the weekend, we painted all the bedrooms. We painted two on Friday and the other two yesterday. Today was a bunch of randomness for work.
 Little Miss Sunshine's room. It's as bright and sunny as she is.  Color is: Lemon Pound Cake
 Little Man's room. His favorite color is blue, so a blue bedroom it was! Color is: Snowdrop
 Miss Attitude's room. She wants a Minecraft theme room, so this is her base color. Color is: Cabbage Green.
Master Bedroom. We just adore the color of our one cat, so we wanted something close to his coloring. We found it. Color is: Classic Silver.

Thursday, May 2, 2013

Master Bedroom primed and ready for paint!

The walls primed and windows masked off.

My Dad painting the ceiling. I love his spray gun!

Monday, April 1, 2013

More drywall installation

Yes, a DIY house rebuild takes forever. However, it also saves money. Lots of money. This is where we are currently on the drywall installation.
The hallway

Kid Room

Master Bedroom

Master Closet

Another Kid Room

Master Bathroom

The pit to the basement. This was entertaining watching the drywall be hung.

Saturday, March 23, 2013

Drywall installation begins

Some of the posts I'll make are going to be primarily pictures only. This is one of them.
Part of the living room

Living room ceiling

Master Bedroom

One of the kids' rooms

Drywall was delivered

The drywall for the entire house was delivered today. It was so worth the money spent to have them deliver it and bring it into the house. Drywall is NOT light. My knees and back are thanking my wallet today.
Yes, that's all our drywall. Yes, they used a crane to bring it into the house. The entire delivery took about 45 mins. It would have taken us SEVERAL trips and SEVERAL hours to do this. Again, definitely worth the delivery fee.
As you can see, the drywall process has begun. Our first few sheets are up. These are 4x12 sheets too.

Tuesday, March 19, 2013

The insulation is in!

The insulation people came today and put in the blown-in cellulose insulation. They did this all in a span of about 3 hours. So impressive! They were insanely cheap too. So much so that we're hiring them again to do the blown-in for the attic.
This is the insulation truck. If you look, you can see two different hoses. One is the blower hose. It's what blows the wet insulation into the wall. The second one is the sucker hose. (So scientific, I know). Once they blow the insulation into the wall, a second guy comes and shaves the excess. The third guy uses the sucker hose to suck the excess back into the truck to blow again. Very cool process. Very quick. Very efficient. I cannot recommend a better way to insulate.
 Thursday is our drywall delivery. Saturday the plumber is coming to hook up the water meter. So, we're getting busy busy. Things are starting to really fly now.


Wednesday, January 30, 2013

We have (more) interior walls (Part 2)

My Dad, Hubby's Dad, and Hubby all worked hard today in order to finish putting in the interior walls. They got them done though! It's amazing how putting in framing for walls makes it look so much more like a real house. We have a lot of bracing to put in, but next steps are plumbing, electrical, and HVAC.

 Building more walls.
 Putting the wall in place. Even Little Man had to get in the action.
 Little Man just loves being helper at the construction site. 
 Looking at the doorways for the bathroom (left) and the stairway to the basement (right)
 Building more walls!
 The kids' rooms!
The master. 

Tuesday, January 29, 2013

We have interior walls (Part 1)

Today was an eventful day. MD and DH leveled the main beam of the house and we put up some of the interior walls. Tomorrow, we'll hopefully finish the interior framing. Hopefully. :)
My Dad marking where the interior walls will go. 
My Dad laying out the framing for the first interior wall.
 The first interior wall all put together.  
 The second wall!
 Look! We have a room! Whee!
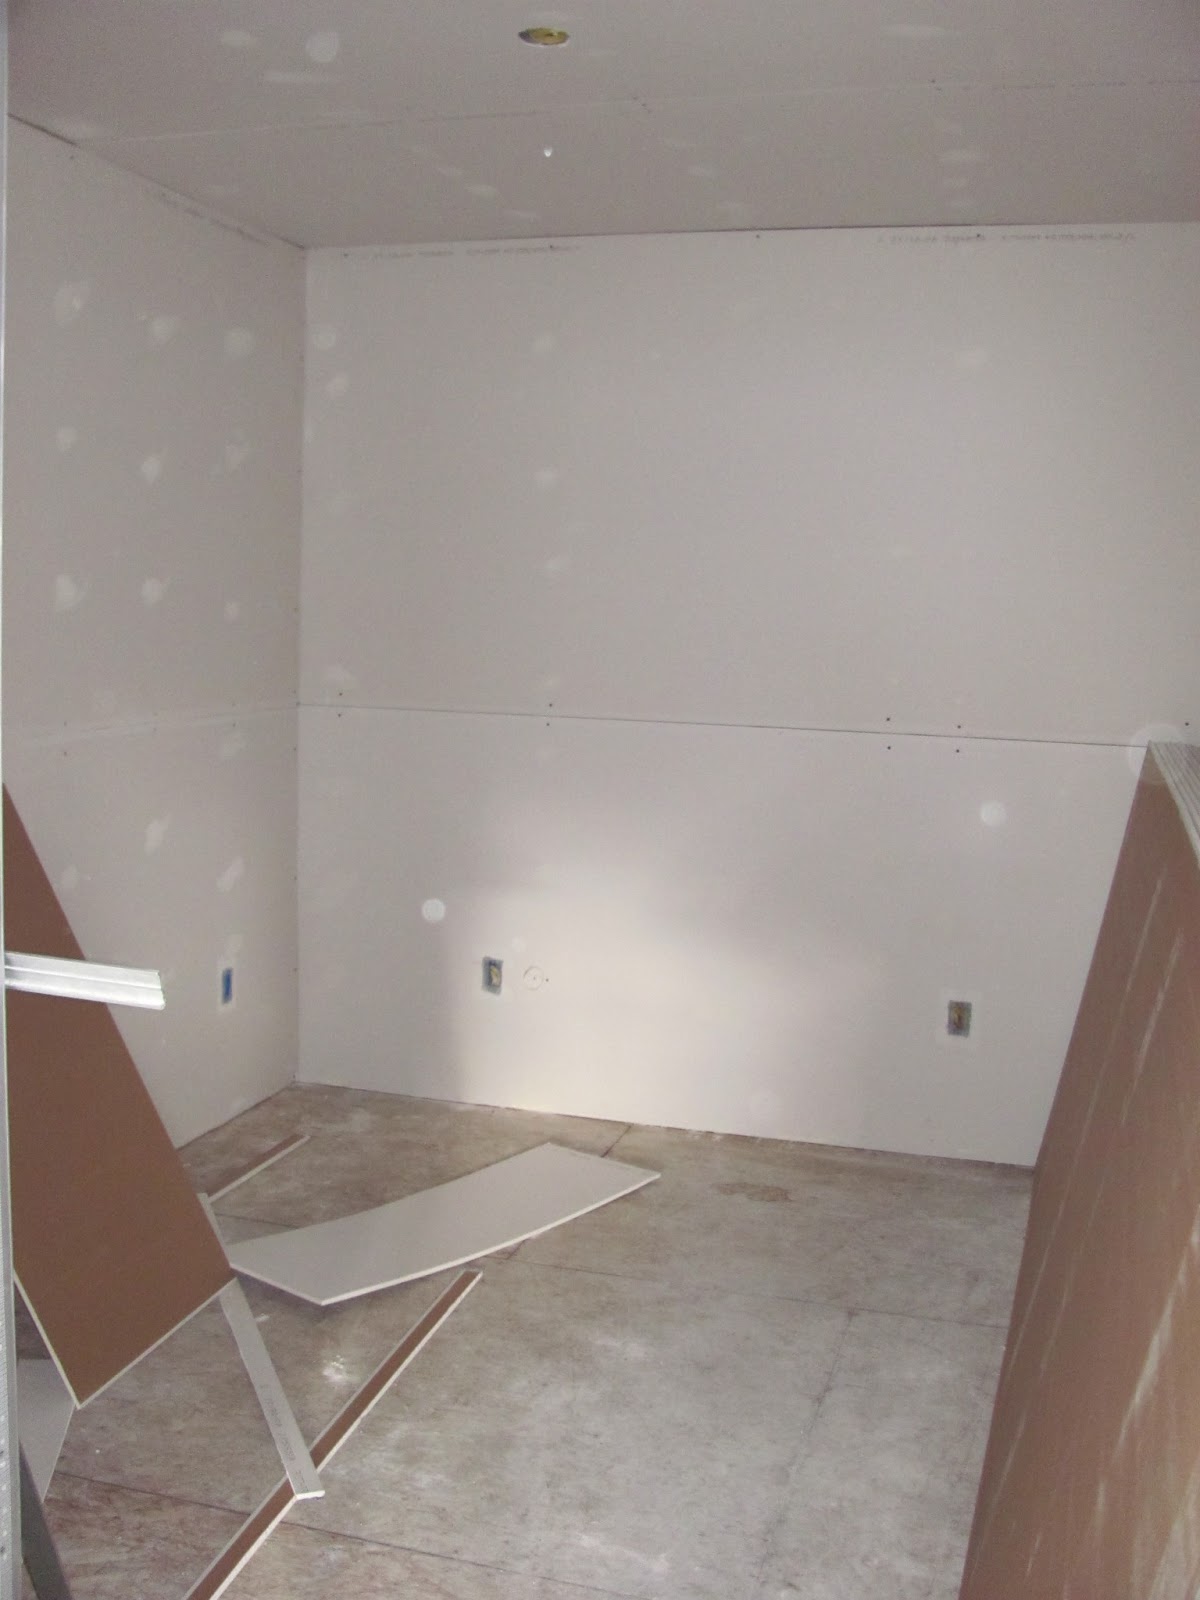
Same room, different angle.


When your Dad tells you to NOT play in the mud, this is the reason why. Miss Attitude decided she knew better. She ended up sinking well above her ankles and had to rescued. 

Wednesday, November 28, 2012

Housewrap 2

Today DH and HD finished putting the housewrap on the house. For some reason, adding the housewrap made the house look ENORMOUS!

Unfortunately, this will probably be the last update for a while. Winter has hit and money has run out for now. The perils of building a house without a loan. Rest assured, we'll be back in the new year with plenty more updates though. They'll come lightning fast too. Why? We're expecting to be done building and moved in by June 2013! That's 6 months away!


HD and DH putting the wrap on the peak of the house. Those are not short ladders either.

Tuesday, November 27, 2012

Housewrap 1

Today, DH and HD started putting the housewrap on the house. We decided to go with EasyGard instead of Tyvek. Cost is one issue, and from all our research it's comparable to Tyvek. DH said it went on very easily once they figured out exactly how to do it. The parts you'll see done only took them about 3 hours to do! That's amazing! Tomorrow, they're going to do up in the eaves and the small band underneath the fascia. They are confident they'll be able to get the house fully wrapped by the end of the day tomorrow.

Before/Currently

Pics of the housewrap on the house. 
 The house from the neighbor's yard. This is a side you won't normally see.
 The side of the house facing the garage
 The side of the house you normally see. 
The front of the house.

Thursday, September 20, 2012

Walls, walls, and more walls.

Today, MD and I finalized the rest of the walls going up. Then we put the header plate on the tops of all the walls. In doing that, I got to help set up scaffolding. Let me just say this, take the wheels off before you attempt to put scaffolding together. It's much easier that wall. Tomorrow, assuming the weather cooperates, we'll be putting the trusses on the house!

 My Dad (MD) standing on the scaffolding nailing the header plate into place.
See! All the walls are up now!